Your phone dies just outside a UK train station. You have arrived from the US, your hotel is somewhere beyond the bus stops, and the screenshot you meant to save is trapped behind a black screen. People stream past with the confidence of knowing where they are going. You turn toward a side street, hesitate, and come back to the station doors.
This is a good place to pause. You have a recognizable starting point, access to people who may know the area, and a chance to build a route before walking farther. Finding your way without GPS starts with a small set of decisions you can explain in ordinary words. The aim is to connect places you can recognize, using streets and turns you can remember.
Build a route you can describe before you start walking.
- Connect your starting point and destination through a few recognizable landmarks.
- Choose clear walking connections and turns with visible confirmation points.
- Rehearse the outward journey and an alternate return route before leaving.
1. Make the Station Exit Your First Landmark
Before leaving the station area, identify exactly where you are standing. A station name alone may not be enough. Different exits can open onto different streets, leaving you facing the opposite direction from the one you expected.
Read the exit sign and find a street name. Look for a fixed feature beside the doors: a clock, a covered entrance, a public square, or a large building across the road. Write a short starting description on paper. “Station exit onto Market Street, facing the square” is more useful than “outside the station.”
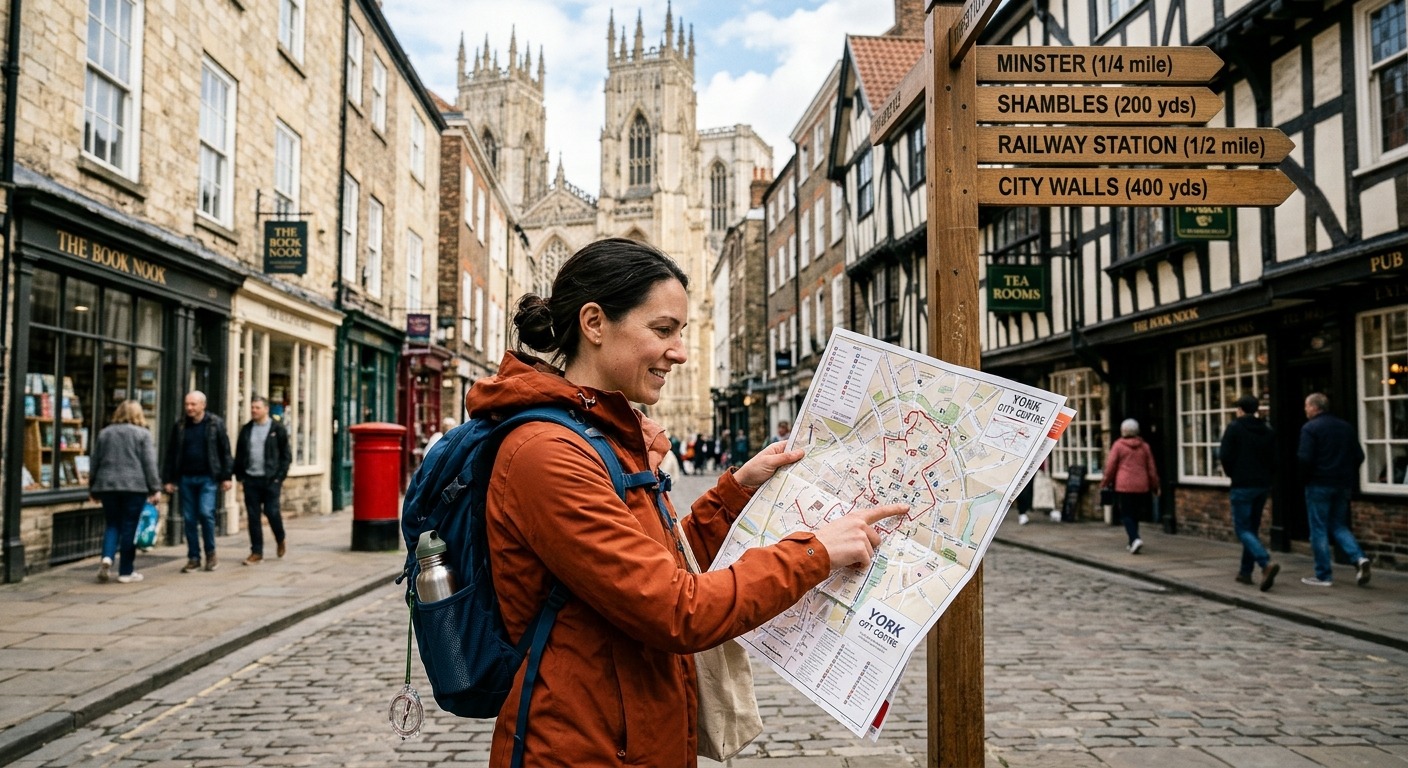
If there is a public map, locate both the station and your destination. Check its orientation before interpreting left and right. Some street maps place the direction you are facing at the top. Others place north at the top. Read the labels and turn your paper map to match the street in front of you.
Without a map, ask station staff or another local source for a route built around named streets and visible places. A useful question is, “Which main street should I follow, and what should I see before turning?” Write down the answer while you are still there.
2. Choose a Main Street to Carry Most of the Journey
A route becomes easier to remember when one street does much of the work. Look for a continuous road or pedestrian shopping street that takes you toward your destination. Treat it as the backbone of the walk, with a short connection at each end.
The shortest line on a map may involve several small lanes, an awkward crossing, or a passage you cannot recognize from the entrance. A slightly longer route with fewer decisions can be easier to follow. Compare the number of turns and the clarity of the walking connections, rather than distance alone.
Check that the route works for someone on foot. A road continuing across a map does not guarantee a convenient pedestrian crossing. Look for marked crossings, accessible paths, and clear connections around large junctions. Account for stairs or steep slopes if those affect your walk.
For a US traveler, local wording can help. In the UK, “pavement” commonly means the sidewalk. A “subway” may mean a pedestrian passage beneath a road. If someone uses an unfamiliar term, ask what you will physically see when you reach it.
3. Link Three or Four Landmarks Into a Mental Map
Choose a few landmarks that divide the journey into manageable sections. You might walk from the station square to a museum, continue to a bridge, then turn toward your hotel. Each landmark should help answer a question: where am I, where do I turn, or how will I know I have arrived?
Prefer features that remain recognizable from street level. A distinctive stone building, a bridge entrance, or a large public square can work. A small shop sign is less dependable if several nearby businesses look alike or if the shutters will be down when you return.
Check which side of the road holds each landmark. “Museum on my left” gives you more information than “pass the museum.” It helps confirm both your location and your direction of travel.
Keep distant features separate from turning points. A tower may help you maintain a general direction, but it cannot tell you which nearby lane reaches its base. Use it to check your mental picture, then rely on street names and junctions for the actual turn.
4. Review the Surroundings Before Heading Out
Route planning also means checking what the walk will involve. Before leaving your accommodation or another place with internet access, you can consult a UK crime map as one resource for reviewing reported crime patterns around an area you plan to visit.
Those patterns cannot establish whether a particular street is safe. Reported incidents describe recorded events. They do not provide a live assessment of the conditions you will meet, and a street with few reports is not guaranteed to be free of problems. Avoid turning a cluster of markers, or an empty patch, into a definite judgment about your walk.
Consider the route itself alongside any background information. Does it require an isolated passage? Will a park gate or shopping arcade still be open when you return? Can you follow a clear public street if the planned connection is closed? Ask your accommodation about access restrictions and current local disruptions.
Build room for changing your mind. If a connection is blocked or the surroundings make you uncomfortable, pause somewhere you can assess your options. Return to a known landmark or seek help from a staffed business instead of pressing ahead to preserve the original plan.
5. Give Every Turn a Cue and a Confirmation
A memorable turn needs more than “take a left.” Give it a cue you can recognize before turning and a confirmation you can check afterward.
For example, your written instruction might read: “At the library entrance, turn right onto Bridge Street. Continue with the river on the left.” The library tells you when to act. The street name and river tell you whether the move fits your plan.
Add a stopping boundary when possible. “If I reach the large roundabout, I have gone too far” gives you a reason to stop before a small mistake becomes a long detour. Choose a boundary that is visible and close enough to be useful.
Avoid counting side streets as your only method. A driveway, service entrance, or pedestrian passage may make “the third right” ambiguous. If directions include a count, pair it with a street name or a substantial landmark.
6. Write a Route Card You Can Read at a Glance
Turn your plan into a compact paragraph on a piece of paper. Include the station exit, main street, key landmarks, turning cues, and destination address. Leave out details that do not help you make a decision.
A fictional route card might say: “Leave the station through the square exit. Follow Market Street to the library. Turn right onto Bridge Street, keeping the river on the left. After the bridge, take Mill Lane. The hotel entrance is opposite the small square.” Your actual version should use names and connections you have checked.
Write the full destination address separately. A building name can be shared by several places, and an entrance may face a different street from the one you expect. An address also gives someone helping you a clearer starting point.
Allow extra time for reading signs and checking junctions. If your arrival time matters, a route that leaves no room for hesitation will make every pause feel like a mistake. Checking is part of the walk.
7. Confirm Each Section as You Walk
At every planned landmark, briefly compare what you see with your route card. Have you reached the correct building? Is it on the expected side? Does the next street name match?
Check before crossing a major road or entering a less obvious passage. For a US traveler, traffic may approach from an unfamiliar direction. Use designated crossings where available and check all traffic movements before stepping into the road.
If a detail does not match, stop at the last place you can identify confidently. Do not compensate by taking an appealing side street and hoping it reconnects. Read nearby signs, check a public map, or ask for directions to your next named landmark.
Occasionally look back from a suitable place without blocking the pavement. The junction will look different on the return journey. Noticing the station-facing side of a building gives you another useful picture to carry.
8. Rehearse the Walk and Give Yourself Another Way Back
Before setting off, put the route card out of sight for a moment. Say the journey in one short sentence: “Station square, Market Street, library right turn, bridge, Mill Lane, hotel.” Then describe the two most important turns with their confirmation points. Check the card for anything you missed.
Next, rehearse the return separately. Simply reversing left and right can fail if you forget which direction you will be facing. Describe what you expect to see as you approach each junction from the other side.
Choose an alternate way back while you still have a map or reliable directions available. It might follow a longer main street that avoids an arcade with closing hours. Record where you would join that route and which station entrance it reaches. If you cannot verify a second walking route, identify a staffed place where you can ask for help arranging a return journey.
Leave With a Route You Can Tell Someone
At the station doors, give yourself a final rehearsal. Name your first street, your turning landmark, and your destination. Say what you will do if the expected landmark fails to appear. Then name your alternate return connection.
You now have a sequence you can check against the city around you. The phone can stay dark. Your next task is small and clear: reach the first landmark, confirm it, and continue.