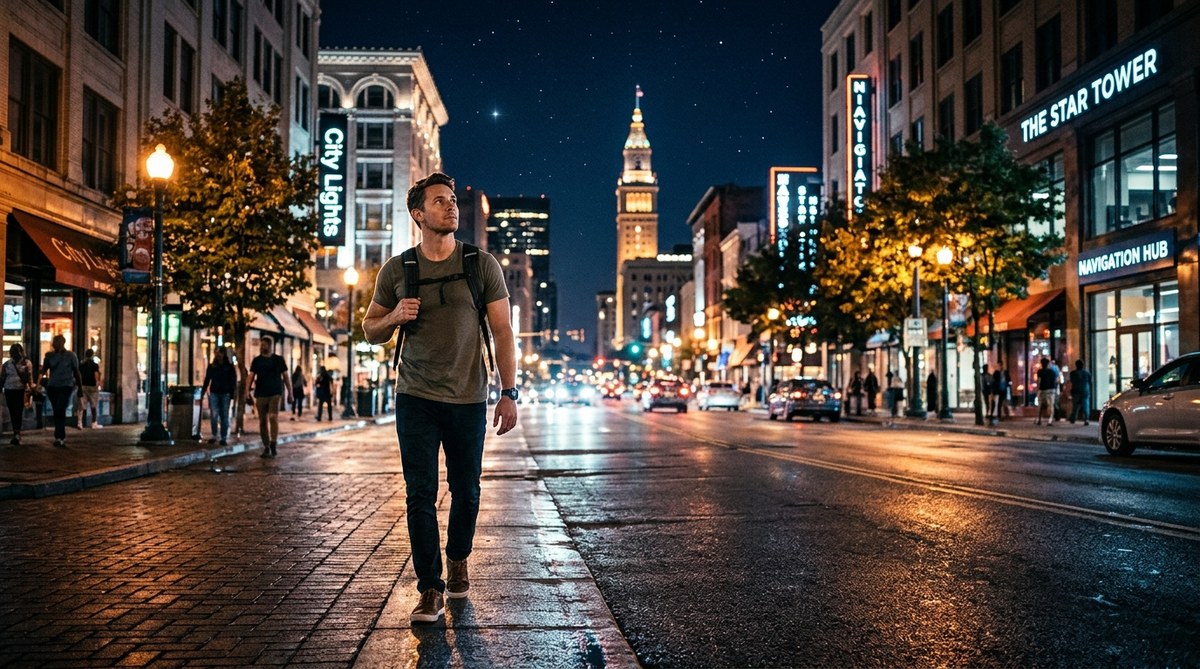
The sun drops below the horizon. The trail markers vanish into shadow. On the water, channel buoys become faint blinks against a black mirror. For anyone who works, plays, or volunteers outdoors, the transition from daylight to darkness can feel like the ground has been pulled out from under you. But losing the sun does not mean losing your way. With the right techniques and a shift in mindset, you can navigate confidently through the darkest hours. Whether you are a sailor reading a moonless Chesapeake Bay, a hiker finishing a ridge line after sunset, or a search and rescue volunteer moving through timber at 2 a.m., these seven night navigation tips will help you stay oriented, safe, and in control.
Night navigation is a skill you can learn, not a mystery you have to fear. This guide covers seven practical techniques: protecting your night vision, using the moon and stars, reading water and terrain at night, managing your gear light discipline, and building a mental map before dark. Each method works for boaters, hikers, and SAR teams alike.
Train Your Eyes Before You Lose the Light
Your most powerful navigation tool is your vision, but it takes time to adapt. The human eye needs roughly 20 to 30 minutes to reach full dark adaptation. A single flash of a white light can reset that clock in an instant.
Start preparing before sunset. When you know you will be out after dark, wear red-lens glasses or sunglasses during the last hour of daylight. This pre-adapts your eyes to low-light conditions. On the water, boaters can switch to red instrument lights as soon as the sky starts to color. Hikers can put on red-tinted shooting glasses while setting up camp. For SAR teams, this is standard practice during staging.
Once darkness settles, use the “averted vision” technique. Your peripheral retina contains more rod cells, which are sensitive to low light. Instead of looking directly at a faint object like a distant landmark or a dim channel marker, look slightly to the side. The object will appear brighter and clearer. This trick alone can buy you an extra 15 minutes of usable vision on a moonless night.
Use the Moon and Stars as Your Compass
Celestial navigation is not just for ancient mariners. You can get a reliable sense of direction from the night sky in under 30 seconds.
Find the Big Dipper. Trace a line through the two outer stars of its cup. That line points directly to Polaris, the North Star. Polaris sits less than one degree off true north, making it the most dependable reference point for anyone in the Northern Hemisphere. Sailors on the Great Lakes use this every clear night. Hikers in the Appalachian Mountains use it when trail junctions disappear in the dark.
If clouds cover the stars, look at the moon. The moon rises in the east and sets in the west, just like the sun. A crescent moon with the tips pointing up or down tells you which hemisphere you are in. In the northern United States, the crescent moon’s “horns” tilt downward when the moon is in the southern part of the sky. This is not a precise tool, but it gives you a general heading when you need it most.
If you want to strengthen your overall sense of direction during the day, practice reading the sun and shadows. You can also learn to navigate any city by reading the sun, shadows, and skyline to build that same instinct for nighttime work.
Read the Water and Terrain Through Sound and Feel
At night, your ears and your feet become as important as your eyes. Sound travels differently in the dark. The air is cooler and denser near the ground, which can carry sound farther. A distant motor, waves breaking on a shore, or a dog barking a half mile away can all give you reference points.
For boaters, listen for the change in wave action. A steady rhythm of waves against the hull means open water. A confused chop with irregular intervals often means you are near a shoal, a point of land, or a channel edge. Slow down and verify with your depth sounder.
For hikers, feel the ground beneath your boots. Gravel transitions to dirt. Dirt becomes duff. Duff gives way to rock. Each change is a data point. If you are walking on soft pine needles and suddenly feel hard packed clay underfoot, you may have crossed a trail. Stop, kneel down, and feel for the edges of the tread. This tactile method works even on the darkest nights when your flashlight is off.
Search and rescue volunteers use a technique called “night contouring.” They walk with one hand extended slightly forward and one hand trailing along a wall, fence, or vegetation line. This keeps them on a straight bearing without needing to see the ground. It is simple, effective, and prevents the spiral of getting turned around in open terrain.
Master Your Light Discipline
Light discipline is the single most common mistake people make at night. You need light to see, but the wrong light destroys your night vision and gives away your position.
Follow these rules for managing light in the dark:
- Use red light for close work. Red light preserves your dark adaptation better than white light. Headlamps with a red LED mode are standard gear for any night outing. If your headlamp does not have a red mode, tape a piece of red cellophane or a red balloon over the lens.
- Keep white light low and brief. When you must use white light, keep it pointed at the ground and use the lowest setting. One second of white light costs you 10 minutes of adaptation.
- Strobe for emergencies only. A flashing light is harder to track and can disorient your own team. Reserve strobes for distress signals or marking a landing zone.
- Shield your light source. Cup your hand around the lens when checking a map. Point the beam behind you when talking to a teammate. Every photon you save is a photon your eyes can use.
The table below breaks down common light sources and their best use cases at night.
| Light Source | Best Use | Night Vision Impact | Battery Life |
|---|---|---|---|
| Red LED headlamp | Map reading, camp tasks, close navigation | Low (preserves adaptation) | High |
| White LED on low | Trail walking, gear checks | Moderate (causes partial adaptation loss) | High |
| White LED on high | Emergency signaling, searching for lost gear | High (resets adaptation) | Low |
| Chem light (green) | Marking a location, trail blazes | Low | Very high |
| Phone screen | GPS check, text communication | High (use red filter app) | Moderate |
Build a Mental Map Before Sunset
The best night navigation happens before the sun goes down. During your last hour of daylight, stop and study the terrain or water around you. This is called “reading the landscape forward.” You are creating a mental snapshot that you will navigate through after dark.
For hikers, identify three to five major features along your route: a rocky outcrop, a stream crossing, a saddle between two peaks, a specific tree with a split trunk, a power line clearing. Memorize their order. At night, even with a headlamp, those features will look different. Your memory of their sequence keeps you on track.
For boaters, note the arrangement of channel markers before the light fades. Count the red nuns and green cans. Remember which side of the channel they sit on. Pick a distant landmark on shore that lines up with your heading. When the buoys become hard to spot, that landmark becomes your anchor.
For SAR volunteers, this is the time to mark your entry point with flagging tape or a GPS waypoint. Your team will scatter in the dark. A solid mental map of the search area reduces confusion and keeps everyone safe.
You can apply this same principle to urban environments. Learning to read the street like a local using visual cues builds the same spatial memory that serves you in the backcountry.
Use a Bearing Line and Backstops
A bearing line is a straight line you follow from point A to point B. At night, you cannot rely on distant landmarks to hold that line. Instead, you use a series of close objects called “backstops.”
Here is how it works. Pick a tree, a rock, or a bush that is 20 to 30 yards ahead of you on your bearing. Walk to it. Stop. Pick the next object on the same bearing. Repeat. This breaks the dark landscape into small, manageable segments. You never have to look farther than 30 yards, which keeps your navigation precise.
For boaters, backstops are harder to find on open water. Use a handheld compass instead. Take a bearing to a known point like a lighthouse or a radio tower. Steer to that bearing. Check your compass every few minutes. If the bearing drifts, correct your course by small increments. Do not chase the needle. Trust the bearing and hold it steady.
A backstop can also be a “handrail.” A handrail is a linear feature that runs parallel to your route. A ridgeline, a creek, a fence line, or a power line all work. As long as you stay next to the handrail, you cannot get lost. At night, handrails are your best friend.
Stay Warm, Stay Hydrated, Stay Calm
Cold and dehydration affect your decision making faster than you think. When your body temperature drops, your fine motor skills fade. Your judgment gets fuzzy. You start to make navigation errors.
Pack for the night even if you plan to be back before dark. A lightweight puffy jacket, a wool hat, and a dry base layer fit in a small stuff sack. Carry at least one liter of water and a high calorie snack like nuts or a protein bar. Eat and drink before you feel hungry or thirsty. By the time you feel those signals, your performance has already slipped.
If you feel panic rising, stop. Sit down. Take five slow breaths. Panic makes your vision tunnel and your thinking narrow. It is the number one cause of night navigation mistakes. A calm mind reads a compass correctly. A calm mind remembers the mental map. A calm mind finds the backstop.
“The dark is not your enemy. The dark is just a filter. It removes visual clutter and forces you to pay attention to the things that matter: your bearing, your breathing, and your next step.” This advice comes from a veteran search and rescue instructor who has led hundreds of night operations in the Pacific Northwest. She is right. The dark simplifies the world. Use that simplicity.
Practice These Skills in a Safe Place First
Do not wait for an emergency to test your night navigation. Pick a familiar park, a local lake, or a neighborhood street. Go out after sunset with a friend. Turn off your phone. Practice finding Polaris. Walk a bearing using backstops. Listen to how sound changes as you move through different terrain.
Start with a half hour session. Build up to a full evening. Each time you practice, you build confidence. That confidence is what keeps you calm when the batteries die or the fog rolls in.
You can also strengthen your navigation skills during the day by learning to use environmental cues for accurate wayfinding. The same observation habits transfer directly to nighttime work.
Your Night Navigation Kit Checklist
Before you head out, run through this checklist. It takes two minutes and can save you hours of frustration.
- Headlamp with red LED mode (tested and working)
- Spare batteries (keep them in a dry bag or zip pouch)
- Handheld compass with a luminous dial
- Paper map of the area (waterproof or in a plastic sleeve)
- Whistle (three short blasts is the universal signal)
- Emergency blanket or bivvy sack
- High calorie snack and water
- Extra layer (wool or synthetic, not cotton)
- Small first aid kit with blister care
This kit fits in a small daypack or a boat ditch bag. It is not heavy. It is not complicated. It is the difference between a bad night and a safe one.
Keep Building Your Skills All Year Long
Night navigation is not a one time lesson. It is a skill you sharpen through repetition. Each season brings different conditions. Summer nights are short and warm. Winter nights are long and cold, with snow that reflects what little light there is. Fall nights have clear skies and early darkness. Spring nights carry fog and rain.
Adapt your techniques to the conditions. In fog, sound becomes your primary sense. In snow, the terrain looks flat and featureless, so you rely more on your compass. In heavy rain, keep your map and electronics in a dry bag and trust your mental map.
The more you practice, the more natural it feels. You stop thinking about the dark as a problem. You start thinking of it as a different kind of day, one that asks you to pay closer attention. That attention makes you a better navigator in any light.
If you want to go deeper into the ideas behind these techniques, check out our guide on mastering urban wayfinding techniques for confident city navigation. The principles of observation, memory, and calm decision making apply just as strongly under city streetlights as they do under the stars.
The Night Is Yours to Navigate
You do not need to fear the dark. You need to respect it. You need to prepare for it. And you need to trust the skills you have built. The seven techniques in this guide give you a solid foundation: protect your night vision, read the sky, listen to the terrain, manage your light, build a mental map, use backstops, and keep your body and mind steady.
The next time you find yourself on a trail or a deck as the last light fades, take a breath. Look up. Pull out your red headlamp. Pick your first backstop. And take that step forward. You know the way.